

Installing DietPi on an Odroid XU4 with eMMC, 2024 edition
January 6, 2024 in Devops
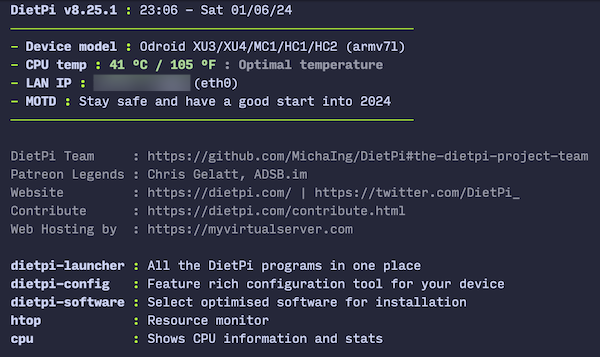
I’ve had the Odroid XU4 for over 8 years now, and its computing capacity is perfectly enough for a small home server. Two years ago, I have replaced the stock case and fan with a heavy aluminum case from KKSB, and with a slightly reduced top CPU frequency it runs at 40 C / 104 F. Very cool all around.
There’s just one problem, though. The stock OS is stuck on Ubuntu 20. This means that all software is gradually becoming incompatible. For example, I needed a fresh Python version for Home Assistant, but installing it was too complicated.
Fortunately, there are alternative Linux distributions that are compatible with the Odroid. One of them is DietPi - a distro centered on low footprint, both for the OS itself and for software from its “optimized” repository. Here’s my experience installing it.
What you’d need
- The eMMC adapter that comes with the Odroid.
- An extra MicroSD card might be needed, along with a MicroSD card reader.
- A keyboard and monitor for the Odroid are not necessary, but almost essential if you get stuck.
My storage situation
Odroid can boot from a MicroSD or eMMC. The eMMC is preferred, so that’s what I have. However, I also have an SSD in a USB-SATA sleeve attached. That’s where I want to see the OS.
Sidenote: with the official Ubuntu image for Odroid, I copied the system to the SSD following this tutorial. But you won’t need to do it for DietPi.
Preparing the installation media
I followed the official DietPi guide, writing the installation image onto the eMMC.
IF IT DOESN’T BOOT, I’m not sure if this step is inevitable, but I somehow lost the bootloader on the eMMC, and had to recover it using this guide. In summary: you write the recovery image to an extra MicroSD card, then boot the Odroid from the SD card having the eMMC also connected and it does the recovery in a couple of minutes - fully unattended. Then I wrote the DietPi image to the eMMC again, and this time it booted.
Initial setup
As the DietPi guide suggests, you can indeed do the setup over SSH. Which means, if nothing goes wrong, you don’t need a keyboard+monitor.
There is a sequence of menus to go through, and you are done with the setup.
DietPi automatically installed itself onto the SSD for me. This is great!
Fixing boot directory location
-
There’s just one problem. Odroid can only boot from the eMMC. Which, practically, means that the
/bootdirectory from the SSD will always be ignored. And you’ll be stuck in “reboot required” mode. The reboot is required to pick up the proper kernel version. But DietPi puts it on the wrong drive, so no matter how many times you reboot, nothing will change. -
There is a straightforward fix. But first, check that the eMMC and the SSD have different UUIDs by running
lsblk -f. In my case, the UUID was the same - if so, runtune2fs -U random /dev/mmcblk0p1to make sure the drives are recognizable. (Note: make sure to change the eMMC UUID, and not the SSD because the file system UUID is used inboot.iniand you still want the bootloader to start the system from the SSD.) -
Now let’s fix the boot folder resolution. The eMMC should not be mounted yet; mount it with
mount /dev/mmcblk0p1 /mnt/emmc. -
Let’s copy the boot directory from DietPi to the drive where Odroid will look for it.
mv /mnt/emmc/boot /mnt/emmc/boot.bak cp -R /boot /mnt/emmc/boot -
Now a
rebootshould make “reboot required” go away because now Odroid will pick up the new kernel from DietPi. -
Finally, let’s make sure that future updates will go directly to the eMMC. To make it so, I mounted the
/bootdirectory from the eMMC in place of the original/boot. Add the following lines to/etc/fstab:UUID=<the new eMMC UUID> /mnt/emmc ext4 noatime,lazytime,rw,nofail /mnt/emmc/boot /boot none defaults,bind 0 0 -
Reboot again to apply
fstabchanges. -
We are done!
Summary
DietPi is a great distribution to have on your Odroid. It’s modern and it has full support. The installation is not complicated, but you do need to work around a couple of issues.
![]() Liked the post? Treat me to a coffee
Liked the post? Treat me to a coffee